5 Decoration Tips with Edible Ink for the Baking Professionals

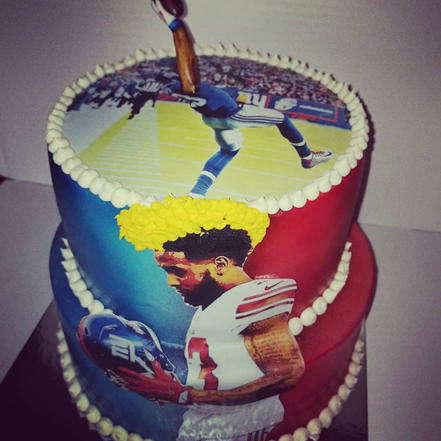
Decoration ideas can make a big difference to your sales and customer satisfaction. Edible ink can be applied in three ways: transferring through edible sheets, using edible marker, and using poppy paints.

Icinginks presents 5 decoration tips with edible ink, which you can apply depending upon the consumer’s demand.

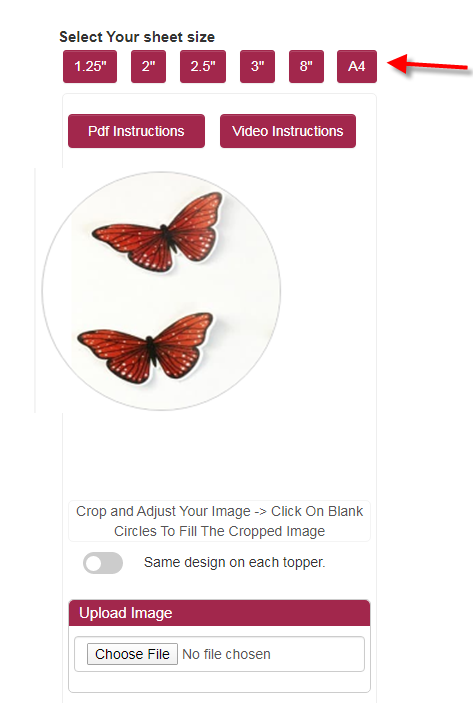
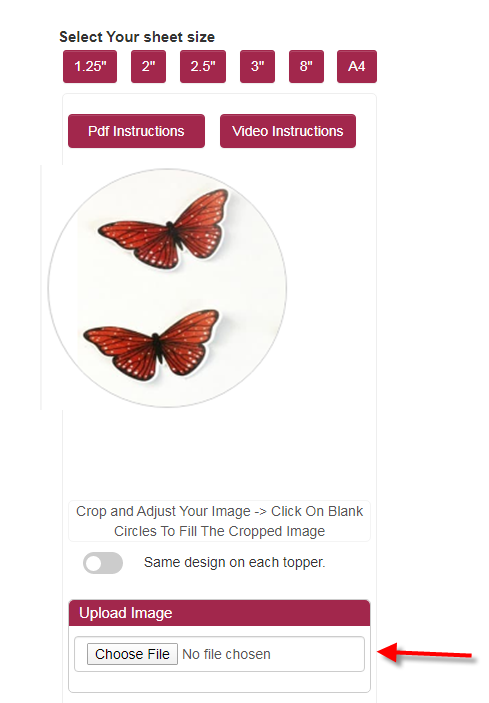
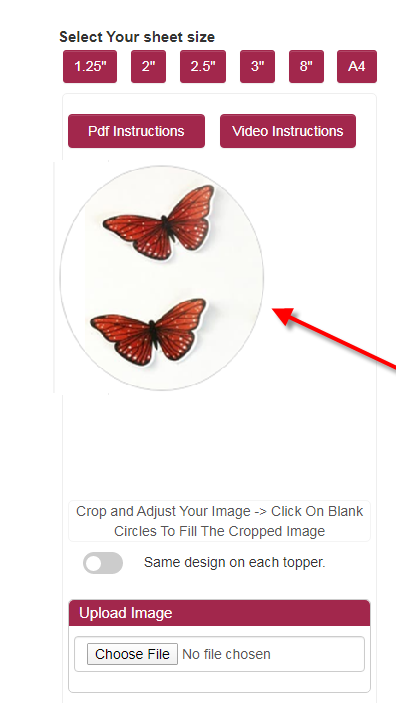
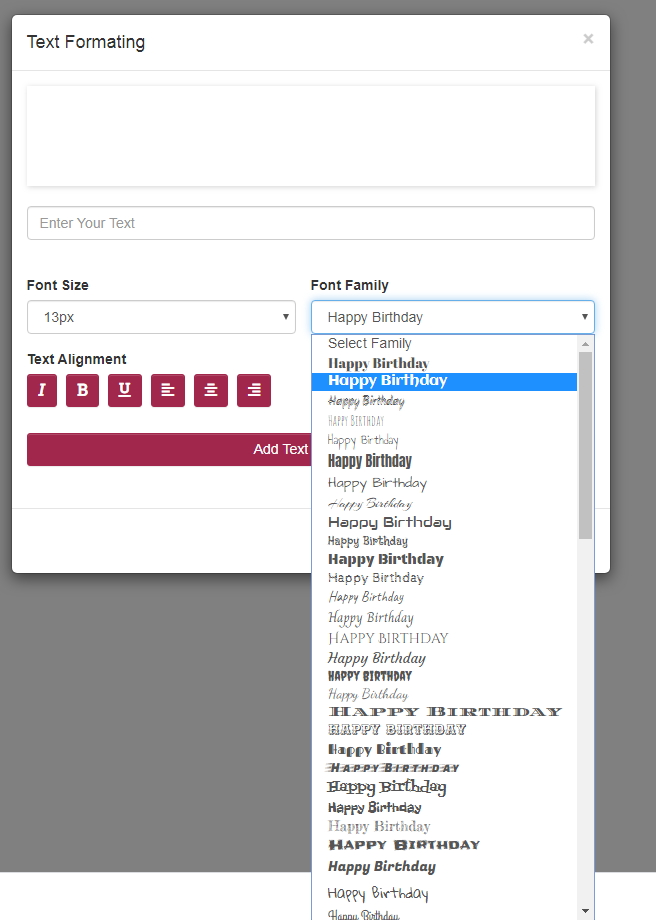
1.    Use Edible Designing Software

Icinginks Edible Design Software

Like Photoshop and similar software for conventional creative designers, there are edible designing software for baking professionals. Experiment with your creativity and get amazing edible images in no time. While some edible suppliers may ask you to pay for the application, Free Edible Image Design Service is available at Icinginks with the many of the bundle edible printer offers. You may upload any image, and edit it the way you want, and then finally get the fine edible print for your yummy food.

2.    Go with a Personalized Theme

Personalized Theme Cake Design with Edible Printer

Bakery business has become highly competitive. You always find new bakery outlets – online and offline – mushrooming everywhere. Personalization helps you get an edge over the competition and build an incredible identity. Everyone might be using the same edible printer and other supplies, but it’s the way you think and personalize the food item for your customers that makes you stand out in the crowd. Keep in mind personalization factors – age of the target audience, occasion, gender, etc., when you create your edible design.

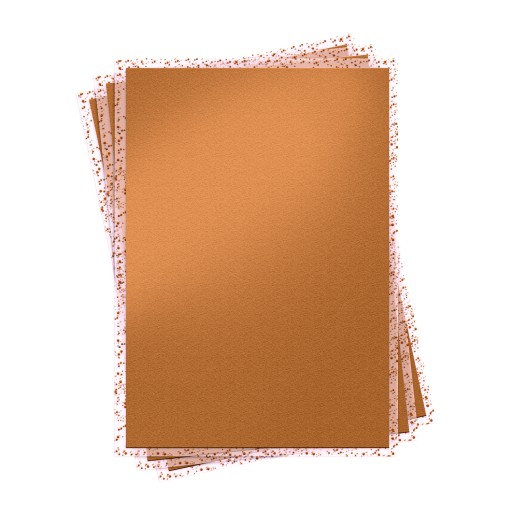
3.    Choose the Right Edible Sheet

Icinginks Edible Frosting Sheet

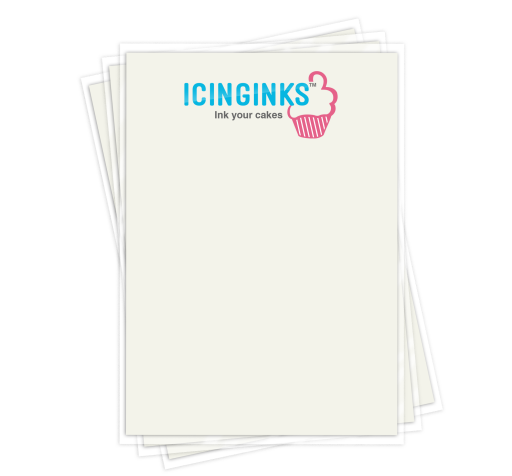
Blank, colored, glossy, flexible and so on – edible sheets are available in all variants. You should use them as per their attributes to get the desired results. For example, if the cake decoration demands, doing a lace work around the border, it’s better to apply the flexible sheet by dampening it with a few drops of water. Likewise, glossy sheets are perfect for imparting the dazzling effect to your food item. Check different types of edible sheets.

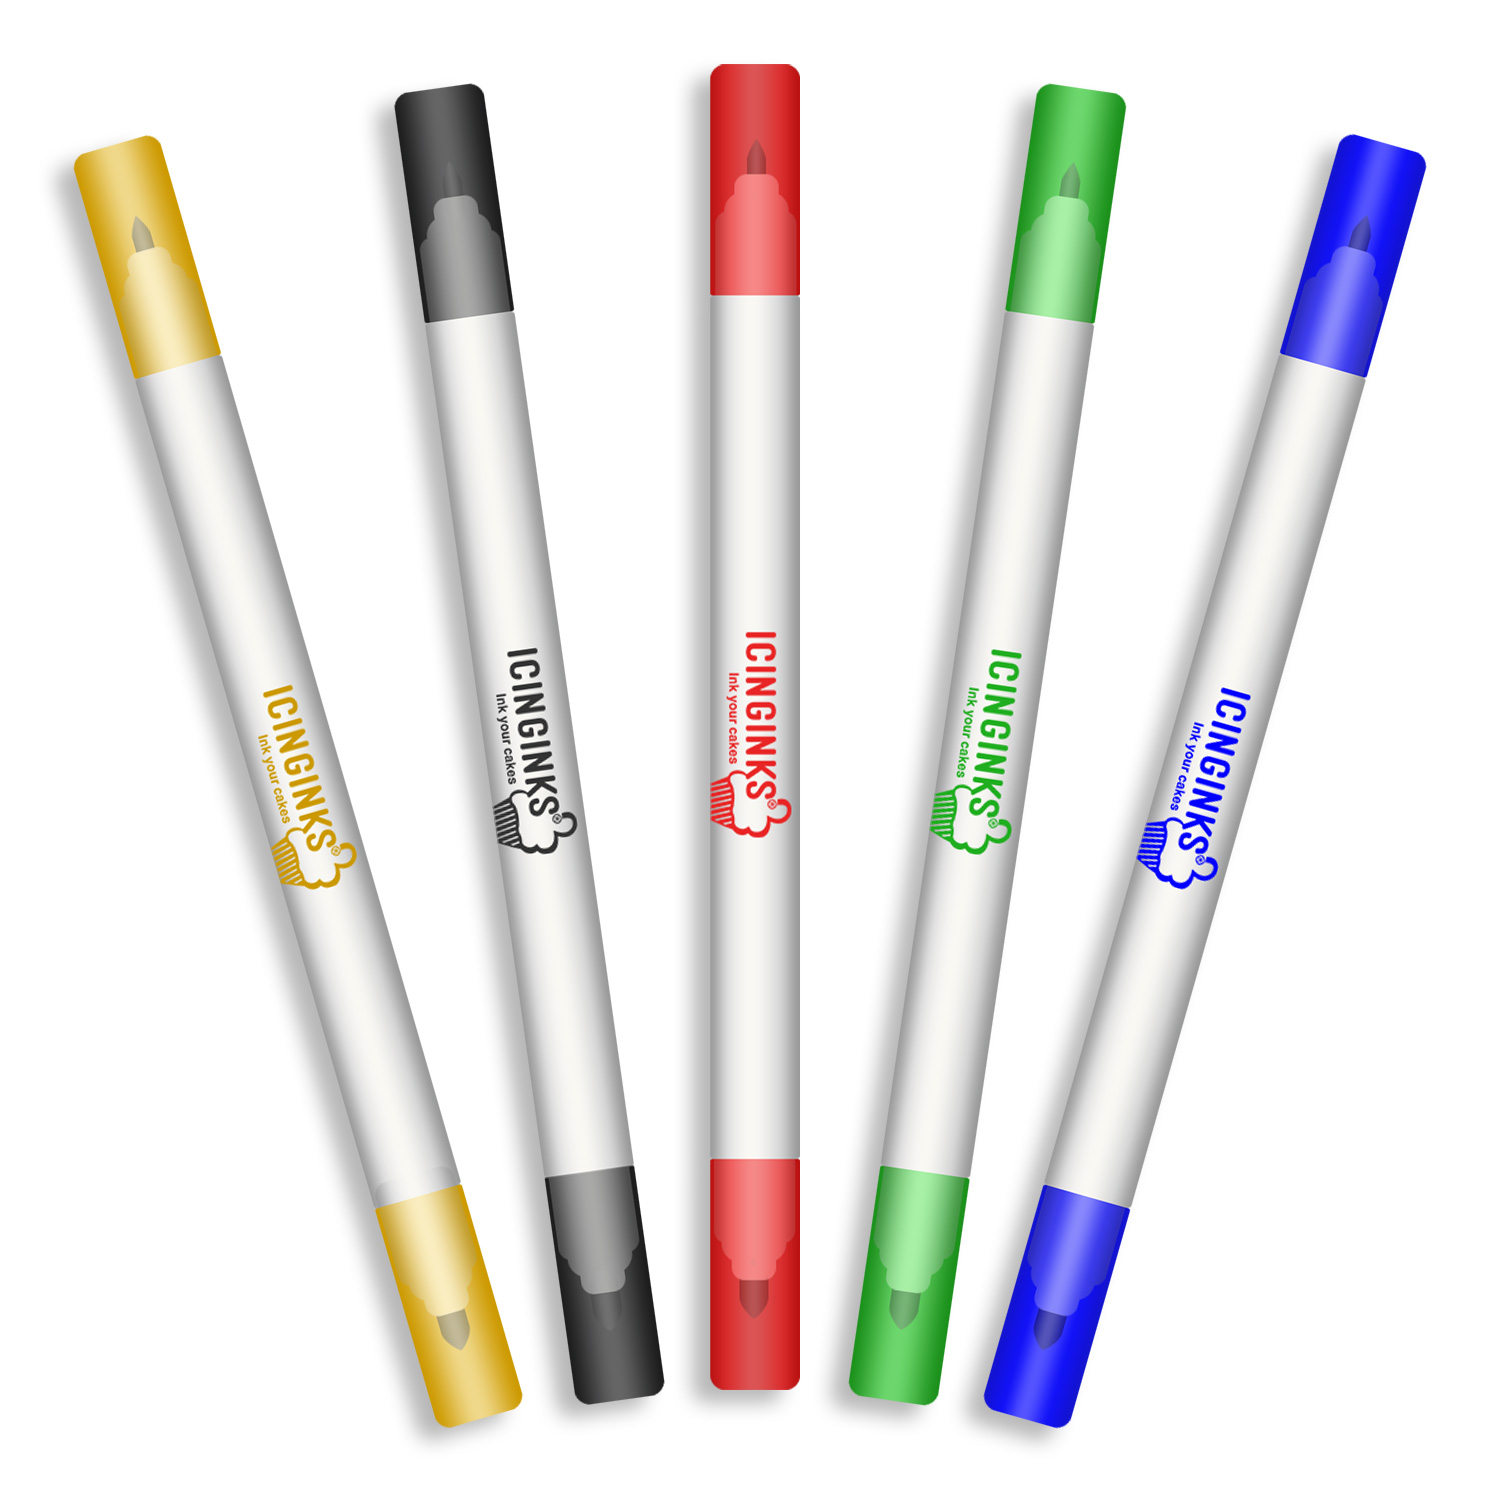
4.    Use Edible Marker on a Dry Hard Surface

Edible Ink Marker Online

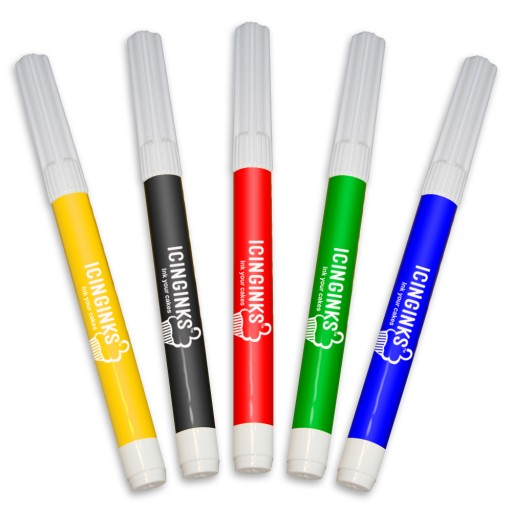
Edible marker is a great way to get that perfect sharpness in your image. It makes the job easier as well. However, avoid using it on a highly-moistened and hard surface. It may not make out the color or come out smoothly. If your design demands use of edible marker in multiple shades, let the first color set well before adding another color to it so they don’t mix. Icinginks offers edible pens with double tips and standard tip. Successful bakery professionals adopt both as both have their specific uses.

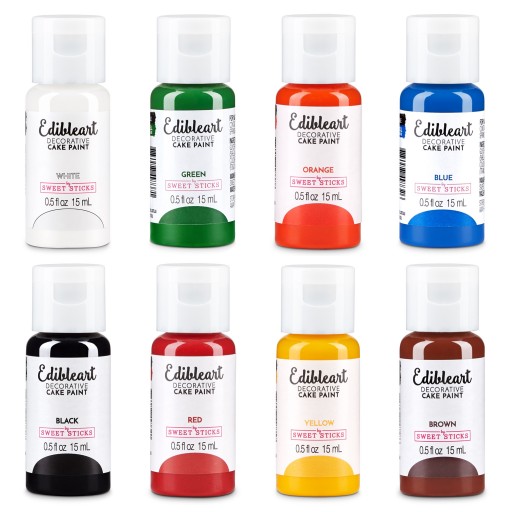
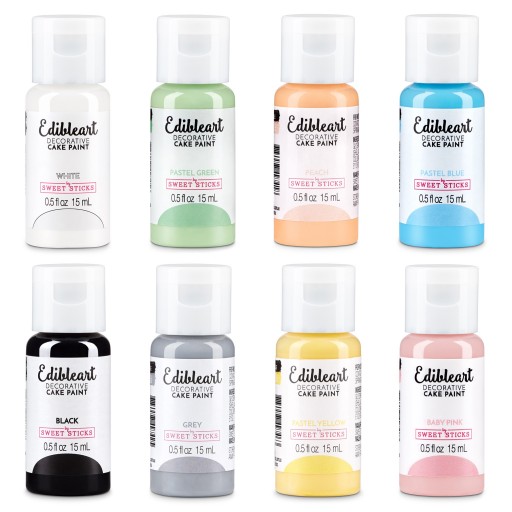
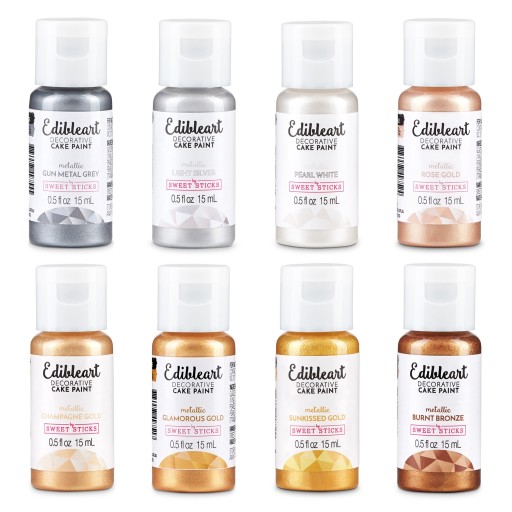
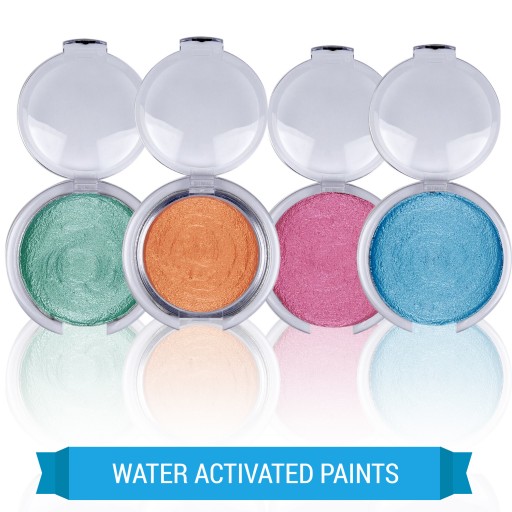
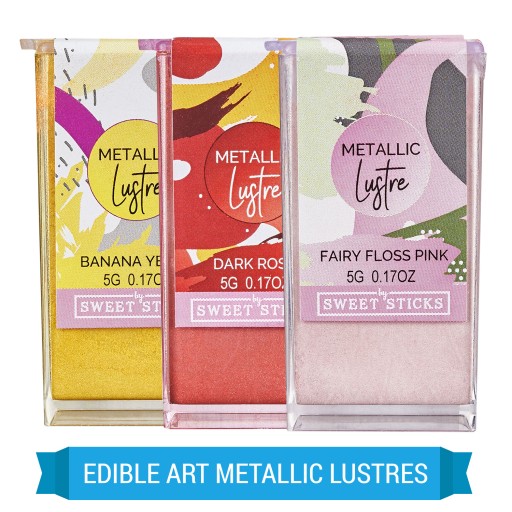
5.    Mix Your Poppy Paint Homogeneously

Buy Edible Poppy Paint

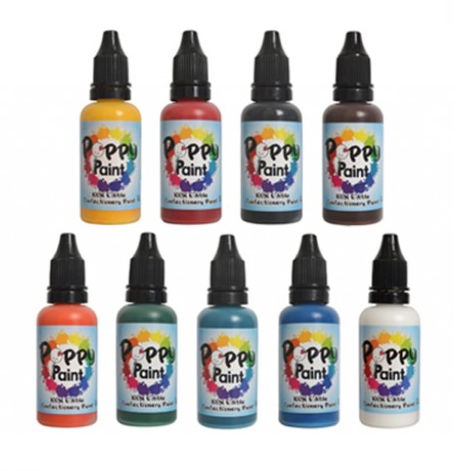
Poppy paint is a variant of edible ink that you can mix like water-color in a palette and then apply it in your edible design. Unlike water-color, here the cake paint is dissolved in food-grade alcohol, which dissolves the ink well and helps it dry fast – some dry even in few seconds while others may take a few minutes. Use separate brushes for different color shades to avoid mixing of the paint.

Celebrate baking and become a celebrated bakery professional! We’ll be back soon with more edible design ideas.

Original Source: Icinginks

Steps to Use the Icinginks Edible Designing Software

Your search for an edible image printing service online comes to an end with Icinginks Edible Designing Software. It’s a browser-based software so you do not need any kind of software installation. Just with an active Internet connection, you can access it anywhere, anytime with your browser. Currently, it’s supported on Google Chrome browser only.Here are steps to use this software to create custom printed edible cake toppers or edible pictures for cakes.

#1. Log in to your Icinginks Edible Designing Software

Open Google Chrome and enter https://www.icinginks.com/edible-designing/ in the URL address bar. Using a valid credential – email ID and order ID – you can log in to access the amazing image editing and designing tools of this edible printing software.

#2. Select Your Sheet Size

Navigate to the “Select Your Sheet Size” section. Select the appropriate sheet-size from the available circular (1.25″, 2″, 2.5″, 3″, 8″) and rectangular (A4) options. The selected option gets displayed on the right side.

Edible Frosting Sheet Size

#3. Upload Image

Scroll down a bit to reach the “Upload Image” section. Click the “Choose File” button below it to upload the desired image. Crop and adjust your image. Get it into the right orientation with easy-to-use resizing tool.

Upload Image - Custom Edible Image Printing

#4. Applying the Image in the Selected Shapes

Apply the design to the shapes present in the right-hand side. Click on the shape, and you will get the image copied there. You can apply the customized image to all the shapes or selected ones based on your requirement. There is a toggle button. Slide it left or right. By default, it stays in the left, which means the customized image will be copied to all the shapes available. Drag it to the right, if you want to fill only selected shapes with the image.

Select Your Shapes - Edible Printing

#5. Add Your Text Message

You can add a message to your custom edible prints with the right formatting. Click “Text Formatting” to get access to a Text Formatting window. Type your message in the text-field provided on the top. Choose the right Font Family, Font Size, Text Alignment (Italic, Bold, Underline, Left, Center, Right justification), and Text Color. You can see the preview of your message above the text-field in the wide-open area. Once your customization is over, click “Add Text to Sheet”, and close the window. The message gets applied to all the shapes.

Add Your Text Message - Custom Printing Software

#6. More Personalization and Formatting

You can remove outline from the shapes with a single mouse-click on “Remove Outline”. Stickers enhance the design. Click “Stickers-Clip Art”. Select the right option from the available categories of sticker. There are around 20 options to choose from.

Personalize Edible Cake Printing

#7. Take a Print

Once your desired picture is ready, you can print it out using an edible printer connected to your PC. Make sure your printer has the right settings and the cartridge has the right ink.

Icinginks Edible Designing Software

Stay in Control

This online edible paper printing service from Icinginks lets you control every aspect of customization and design. If you need to change your image, or apply a different text formatting, different sticker, and so on, you can do it effortlessly without wasting your edible sheets. Click on the “Delete” icon adjacent to the “Images” option.

Note:   A PDF instructions sheet and video tutorial are linked with this web-based custom edible printing services, which registered users can access for free once the logged in to the software.

Original Source: Icinginks

How to Use Edible Ink to Print Pictures on Cake or Food

If you want to create your cake or any other confectionary item for a family or social celebration, but think you can’t make it impressive, you could be wrong! Spare a few minutes to learn the decoration idea using edible ink and derive the confidence you need.

1.    Get Everything at One Place

From edible food printer to edible ink printer sheet to edible ink itself – you need all to print pictures you want on your cake or food. When you invest in edible supplies, you should be a little smart. Do not get tempted by lucrative offer. Instead, buy what you need. Going with a combo printer offer that helps you get all at the best price is always a wise thing to do rather than ordering edible supplies separately.

2.    Select Cake or Food Ingredients Wisely

There are a lot of creative ideas you can experiment with your edible ink. However, to make sure that the ink doesn’t get bloated or smeared on your cake surface, pay heed to the ingredients you use in creating it, particularly the topper where you are going to spend most of your effort. A dry or less moistened surface is ideal. It cuts the time of food decoration as the ink dries fast and you can go easily with a multi-layer decoration.

3.    Get the Desired Edible Image

Use your edible printer to get the image of your choice on the frosting sheet. Choose a blank sheet or a sparkling or glitzy sheet to match the theme of decoration. Using chocolate transfer sheet is also an alternative if you have a chocolate cake to decorate. From nature to pop-culture to entertainment world, there are many sources to draw inspiration from. Internet is there to make your job easier. Get your imagination transferred to the frosting sheets.

Sparkling Edible Sheet

There is nothing to worry even if you are doing it for the first time. Place the frosting sheets in your edible printer just like normal paper, and print any image you desire, using Icinginks edible ink. Once the printing is over, let the frosting sheet dry for least 6 – 12 minutes.

4.    Transfer the Edible Image to the Cake

Remove the plastic backing from the sheet before you place it on your cake or other food item. Pat it down gently on the food surface to make sure no air bubbles get trapped underneath the sheet. Air bubbles may distort the image. Leave the edible sheet for about 20 to 30 minutes on the food. This will help the edible image to get absorbed into the food and became a part of it.

5.    Be Gentle while Removing the Sheet from Backing

Frosting sheets or icing sheets absorb moistures either from the environment or the ink you use, which make it difficult to remove them from the plastic backing. Dry your sheet at least 10 – 15 minutes. If you have hard time removing the backing cover, place the printed edible image in freezer for 30 minutes. The removal will be super easy.

Original Source: Icinginks Blog

How to Draw on Food with Food Pens?

A sight of beautifully-designed cakes, cupcakes or cookies is a real delight. It triggers the appetite as well.

Whether it’s a birthday, anniversary, Christmas or any other celebrations, you can personalize the celebration with wonderful edible arts made out using food pens. Engage your kids in the art work. They will enjoy it the most and, of course, learn a lot from the exercise.
If this is the first time you have heard about FOOD PENS, before going any further into their usability, it’s important to learn what exactly they are. Similar to whiteboard marker, food pens are used to write or design on dry hard food surfaces like icing or a plain cookie. In place of edible ink, they are filled with concentrated food-grade dyes.
From textural artworks displaying your emotions to images of superheroes, flowers, and much more – with food pens you can draw them all on food of your choice. Here are some proven tips to get started the right way.

Do some homework

It’s good that you are pragmatic. However, there is no harm in adopting a professional approach. Matching the occasion like Christmas, birthday, anniversary, or other celebrations create custom edible art designs on a paper. You may take help of the Internet to find some great artwork. Take a print of something of your interest, and replicate the design on the food items manually using the food pen. Icinginks offers premium quality single (standard) or double tip (fine and standard tip) edible ink pens and markers.

Edible Food Markers

A single standard tip edible pen or marker makes it easy for you to add color to your text and messages to fondant, royal icing designs, cookies, and many more foods (even bread, fruit, cheese and toaster pastries!). You can perform the job fast and with much precision.
However, the advantage of buying a double tip edible ink pen or marker over a single tip is that it performs dual functions: outlining the food art, and filling any inner area. So it transforms you into a complete professional.

Get the Right Foundation or Topper

Your canvas should be good as well. The icing or topper of the cake or cupcake serves as the foundation. Ingredients like powdered or confectioner’s sugar, meringue powder, cream cheese and water that bake up nice and flat are ideal. Patience is the key. Let your cake or cookie topper dry somewhat. Otherwise, the moisture presents on the surface may mix with the ink producing color splotches. The tip of the pen may get blocked also interrupting the flow of link. Food pens stand out best when used on a nice royal icing which sets up glossy and firm.

Use a Stencil or Draw It in A Hand-Free Style

It’s time to show your perfection. If you have to write a message involving texts or artworks, you may use a stencil for help. The market has many gorgeous ideas regarding stencil usage. You may get one easily. Even if you don’t find it, you may create it at home using your kid’s geometry tools. Place the stencil of your kid on an edible sheet and take out the impression of the texts or symbols you want to use.

Make A Difference with Some Fun or Romantic Ideas

With food pens there is no limit to creativity. Engage your kid or kindergarten students in the art making. Encourage them to draw their favorite superhero characters like Superman, Spiderman, Batman, Wonder Woman, etc.  Ask them to draw solar systems, stars, rivers, or other things on the food items. Educate them about the environment with the food art. Give them a moral lesson or motivation with great quotes. Likewise, if you have been wondering of a great anniversary, create romantic images – heart shaped, couple-kissing, or something else -on the cake or cupcake.

Avoid Streaks from The Edible Art

If your marker tip causes streaks on the surface, and you hate that, there is a cool alternative. Use edible art paint with the tip. Pour the same color of the edible paint in a bowl, and thin it using some water, and apply it using the marker on the surface. Do not allow excess ink to go on the edible surface. Keep soft cotton handy. Tap the tip of the marker with the cotton to get rid of that before you use the marker to design your art.

Always Keep Your Edible Pen Marker Upside Down

Doing so helps you maintain the moisture on the tip, which is important to keep the marker in the right condition for repeated use. This little practice is pivotal as you don’t want to lose your wallet string every time to buy a new edible marker.

DON’TS About Using Food Pens

  1. Do not apply them on candy melts, soft icing or fondant or waxy chocolate because they will not draw smoothly or even produce color at all.
  2. Let your surface dry somewhat before using the edible markers on it for the best results. Otherwise, the ink may smear, stop flowing or you might end up with color splotches imprinted deeply in soft fondant.
  3. Allow your edible marker colors set as well when you need to use multiple colors together on one section or they might mix in an unattractive manner.
  4. The idea of mixing two or more colors to produce a different one may not work as per your expectation. The bottom layer tends to show through. It’s advised to use separate color for different effect.

Loved the ideas of putting your fantasy on yummy cakes and cookies? Try it out. If you are using the food pen for the first time, you are likely to make mistakes. Don’t give up. Icinginks is with you. Remember, imperfection is beautiful as there is nothing perfect in the world. Trial-and-error is the best way to champion anything. Hope you agree!

Original Source: Icinginks

Christmas Cakes & Cookies Designs That’ll Make Your Holiday Sweet

Beautiful and delicious cakes and cookies form an inseparable part of any Christmas celebration. It’s an opportunity to experiment and unleash your creativity. It’s time to gather around the dessert table with your loved ones and enjoy sumptuous foods. Icinginks brings 5 Christmas-themed cake and cookie design ideas to help you celebrate the moment and end the holiday on a sweet note.

1.    Cream Cake with beautiful X-Mas Topper
Cream cakes are favorite of kids and adults. In cream usage, you have choices – buttercream, cream cheese frosting, meringue, fondant, or other cream variants for the grand party. Use cream as a filler or as topper, or both – depending on how much you love it. Use fondant to design a beautiful star-and gift-studded X-mas tree on the top. Mark the boundary with ribbon-fashioned design cutting edible sheets. You may add vertical columns along with the boundary of the cake. Place a curve rope connecting each of the columns on their top. The color selection for the different elements of the cake is vital. In the design above, red and white colors complement each other nicely.

2.    Christmas Cakes with Quick and Quirky Fondant Figures

Kids love cakes with fondant images or structures. Create a pliable soft dough using sugar, water, corn syrup, gelatin and/or glycerine. Create sheets out of the dough to shape your fondant sculpture. Santa, superhero character, or whatever entices you – make anything. Use edible markers for drawing minute designs like eyes, lips or dressing accessories. Add a complementary Merry Christmas message in a style of your choice.

3.    Perfect Winter-Themed Cakes

Let the lovely weather finds an expression too. Create a winter-themed cake on this Christmas to mark the climatic transition. Nature has a range of flora and fauna that not just survive the bitterness of winter but also enjoy. Draw on inspiration from snow-laden red twig dogwood, paper birch, camellia, and other tree varieties, mountain, polar bear, penguin, and many more for your cake and cookie designs.

4.    Coniferous Trees with Glistening Snow Christmas Cake

Coniferous trees covered with white snow is a sight to behold. Welcome winter by creating a Christmas cake design featuring this awe-inspiring natural image. Create the cake dough and topper with your favorite ingredients and place those coniferous tree models on it. With festive season on, there shouldn’t be any difficulty in getting such decorative items. Edible frosting sheets can help you add brownie points to your Christmas cake. Print it with beautiful images of sparkling stars and Santa. Write your message with an edible pen wishing everyone a Merry Christmas.

5.    Geometry-Inspired Cute Christmas Cookies

Christmas is unique and so should be your cookies. If brown sugar, baking powder, and melted butter bring mouth-watering taste to the cookies, fondant or topper featuring artworks adds elegance to them, and grab the attention of guests at the very first look. Customize the topper with chocolate transfer sheets printed with your favorite elliptical, circular, rectangular or other shapes. Add intricate designs using edible pen markers.

Hope you got some of the simplest ideas to make this holiday sweet. So, what have you been waiting for? Get into action and live out your creative dreams.

Original Source: Icinginks

What Is the Difference Between the Lustre & Water Activated Food Paints?

If cake, cupcake and cookie decoration art interest you and you want to make use of edible foot paints to make your yummy edible products look impressive, you should know the answer. Here are 10 key differentiating factors.

FactorsLustre Food PaintsWater Activated Food Paints
Physical LookAqueous (paste), powder or solid granulesAqueous (paste)
Solvent Type (The product you use to dilute or dissolve the paint will serve as the solvent)They can be dissolved easily in human-consumable alcohol. Chemically there are three variants – isopropyl, methyl, and ethyl, but only last one is suitable for consumption and is made available to general public.They can be dissolved in water. Similar to water color, you can mix the paint in a container and apply.
How to UseShake the bottle well if it’s paste and then mix it with the prescribed solvent and stir well. Some granule or powder-based lustre paints are just sprinkled on the food to get the desired sparkling or other effects.Add some water to a container or bowl and pour some paste out of the food paint bottle, and stir well to get a homogenous mixture.
Drying TimeQuick drying within seconds so you can paint multiple layers and colors in one sitting. The color wont smudge.Takes a short time to dry. While applying multiple coatings, let the previous one dry first to avoid smudging.
Ingredients used (Might vary a little from one product to another)Gum Arabic, HPMC, Titanium Dioxide (E171), Synthetic Food Colour (E102)Water, Gum Arabic & Citric Acid are the basic elements. The coloring pigment could be Titanium Dioxide (E171), Iron Oxide (E172), or something else. These are vegan, plus free of alcohol, gluten, dairy, soy and peanuts.
Surface HardnessAcquire some brittlenessSoft
Texture or Physical AppearanceMatte to Semi-Gloss in FinishMatte finish
UsesChocolate, Isomalt, Ganache, Candy Melts, Cookies, Macarons, Royal Icing, Glaze Icing, Fondant, Gumpaste, Wafer Paper, Candy, Modeling ChocolateFondant, buttercream cakes (chilled), royal icing, sugar cookies, marshmallows, and more.
Not to useGelatin, Whipped Cream, -Buttercream, Any wet or highly porous surfaceNo restricted food, use on any food.
Shelf-life0 to 2 Years0 to 2 Years

General Recommendations
If the food paint bottle has been kept for a long time, a sediment of the pigments might get deposited at its bottom. Squeeze the bottom if it’s of plastic, and then mix. Use a small spatula if you have got a container of glass or some kind of metal.
Always use 100% FDA compliant edible confectionery paints as offered by Icinginks. Most of our edible paints are free of gluten, dairy, soy and peanuts.
Hope you have got a clear understanding about the differences and similarities. Comment your edible food decoration thoughts and ideas, and leave queries if any. We’ll be glad to answer them.

Original Source: Icinginks

Everything You Need To Know About Edible Luster Dust

Cakes are always one of the greatest reasons of joy for everyone, irrespective the age and gender. Not just humans, even animals seem to get super happy when their birthdays are celebrated with a cake; several dogs, guinea pigs, and bunny owners would gladly testify to it.
Has it ever occurred to you why cakes have such an impactful impression on most of the people? There are numerous kinds of other desserts – puddings, ice creams, pies, waffles… You name it.
However, none of these even come close to the happiness that only and only cakes can bring. Why is it so?
One of the major reasons why cakes are loved by all is, the options to customize them in hundreds of ways. Be it decorating them with frosting, eatable sculptures, or an edible image, cakes can be personalized in various manners.

Edible Luster Dust for Cake Decor
Image Source: HappyShappy

Similarly, one of the ways to do it is by using edible luster dust.
So what exactly is edible luster dust? In simple words, it is just like the decorative colorful luster dust but the one that is absolutely edible and doesn’t have any health consequences. With their sparkling and glittering particles, they serve as a unique addition to the decoration of a cake.
The edible luster dust comes in various types with different colors, shades, and textures. Here are some of the most popular ones:

Highlighter Luster Dust

Icinginks Luster Dust
Icinginks Edible Luster Duster

This edible luster has a metallic finish and comes in gold and silver. They produce a high shine once applied on the cake surface. They are ideal for making typographical art on the cake as it highlights the written text.

Petal Luster Dust

This one comes with a matte finish and the colors are quite vivid and vibrant. They are good for decorating cakes with flower arts, leaves and twigs as the matte finish is quite natural-looking.

Pearl Luster Dust

As the name suggests, this luster has a pearlescent finish to it and is often used with other edible lusters like the petal dust for a shimmering and glittering look to the flowers decorated on a cake.

Sparkle Dust

This edible dust is almost similar to the luster dust with the same kind of sparkling and glimmering effect. The only difference is that unlike edible luster dust, the sparkle dust had larger dust grains, which is quite in contrast to the finely powdered luster dust particles.

Disco Luster Dust

Disco Luster has the biggest dust particles. It is best to be used with 3D artwork on cakes as it highlights the feature of the 3D sculptures and adds a unique effect to it.

Where to Use Edible Luster Dust

The edible luster has several applications apart from the cakes – you can use it to decorate on cupcakes, cookie toppers, and edible sculptures. However, before using the luster, be sure that it is ‘non-toxic’ and ‘edible’. To use safe edible luster dust, select the ones that are FDA approved and are food-grade.

How to Use Edible Luster Dust

Using the edible luster is quite easy and hassle-free. You can sprinkle it with your hand just the way you would sprinkle ordinary luster. But do remember to put on safety gloves as these are edible ones. Another way is to mix it in edible gum and use a brush to apply on the edible surface. Mixing the luster with water is not recommended because most of the edible luster is water-insoluble.  

How to Store Edible Luster Dust

Edible Luster can stay fresh for long if stored in a cool and dark place. Avoid storing it in containers near electronic appliances or under direct sunlight.

Where to Buy Edible Luster Dust

Edible Luster is available at almost all bakeries and confectionary shops. You can also buy online from the websites selling edible cake decorative products. However, not all of these stores are trustworthy. Icinginks offers some of the best and premium quality edible lusters that are food-grade and FDA approved. You can check the collection HERE.

A Guide to Edible Food Color Types and How to Use Them

Making art, no matter in whatever form is a pleasure that is incomparable to any other hobby. To put your imagination in colors and shape and watching it materializing in a solid form is nothing less than magical.
In more recent times, numerous variations of art have emerged throughout the globe, being influenced by respective cultures, traditions, and geography. One such art is food decorating that has become massively popular since the last century.
Food decoration, more specifically, dessert decoration, includes several types of mediums that can be used to make art on desserts like cakes, cupcakes, cocktail toppers, and cookies. One of the major mediums is decorating with edible images by printing images on edible sheets and using them for the decoration.
However, for more detailed and intricate artwork, other elements are required such as edible markers, edible glitter, and edible food colors.
Edible food colors are available in several colors and textures that are ideal for decorating cakes and cupcakes. They can either be used to paint on the food surface or can be used to make different kinds of drawings, typographical fonts, and designs. Just like normal art paints, the food colors add a distinctive appeal on the surface it is applied and enhances the appearance of the desserts.
At Icinginks, we offer a wide assortment of food colors, paints, and luster dust so that you unleash your imagination on your favorite dessert with whatever colors you like. All the edible colors available with us are FDA approve and have no side effects at all. Also, the Icinginks food colors are comparatively much affordable than the competitors, without compromising even slightly with the quality.
Here are different food color types at Icinginks:

Icinginks Edible Art Primary Paint

Edible Art Primary Paint for Cake Decoration
Edible Art Primary Paint

The classic food color, these primary color edible food paints are perfect to start with your cake decorating venture. Whether it is making paintings on cake surfaces or smiley faces on cupcakes, these paints will do the job best. Available in – White, Black, Brown, Blue, Green, Yellow, Orange, and Red.

Icinginks Edible Art Pastel Paint

Edible Art Pastel Paint

If you want to create finer forms of arts like trees, flowers, or landscapes on the cake, these edible pastel colors will be best for you. Pastel colors allow making layers and blending vivid colors to create a soft and sophisticated look. Available in – White, Black, Gray, Peach, Baby Pink, Pastel Yellow, Pastel Blue, and Pastel Green.

Icinginks Edible Art Metallic Color Paint

Edible Metallic Color
Edible Art Metallic Paint

These edible metallic colors produce shiny, gleaming drawings on cakes and other desserts. They are ideal to be used on the cake surfaces for a party, anniversary, wedding, etc. Available in – Gun Metal Grey, Light Silver, Pearl White, Rose Gold, Champagne Gold, Glamorous Gold, Sunkissed Gold, and Burnt Bronze.

Icinginks Water Activated Paints

Water Activated Paints

These edible paints are just like ordinary watercolors, but for cakes. To use, just dip the brush in the water, apply some paint on it, and draw on the cake surface whatever shape or figure you want. The water-activated paints are available in metallic variations of – Banana Yellow, Mandarin Orange, Burnt Bronze, Light Silver, Dark Rose, Honey Gold, Fairy Floss Pink, Glamorous Gold, Gun Metal Grey, Charcoal, Champagne Gold, Green Tea, Hot Pink, Pure Gold, Sunkissed Gold, Silver, Pearl White, Ocean Blue, and Rose Gold.  
The edible water activated colors are also available in palettes in two variations – Metallic Rainbow, and Metallic Gold & Silver.

Icinginks Edible Art Metallic Lusters

Edible Art Juster Dust
Edible Art Metallic Lusters

These sparkling luster dust colors add a magical touch to all kinds of cakes, and cookies. You can sprinkle them on the edible art to add certain appealing effects or you can also use them as spray or paint by mixing water. Available in – Pink Diamond, Pearl White, Burnt Bronze, Champagne Gold, Banana Yellow, Charcoal, Pure Gold, Silver, Coral, Dark Rose, Fairy Floss Pink, Green Tea, Hot Pink, Ocean Blue, and Mandarin Orange.
These edible paints are quite easy to use and are 100% safe to consume. To make sure the occasion is memorable, decorate the cakes and other desserts with these food colors and paints by Icinginks.

Original Source: Icinginks

Edible Luster Dust – How safe it is to apply to Cakes and Cookies?

Edible luster topped desserts and confectionaries are a treat to not just the taste buds, but to the eyes also. After all, a good looking food has a knack to taste good too more often than not, isn’t it?Adding some different colored glitter to the desserts makes them tenfold appealing. Especially when it comes to kids, they usually like all things shiny and glittery. Hence, their favorite cake or cupcake decorated in rainbow glitter or silver and golden dust is something they would absolutely love.

Recently, cakes, cookies, and cupcakes topped with edible luster dust have taken social media by storm and are the newest in the innovative and unique food trends. Whether it is glitter finish on fondant cakes or sparkling dust decoration on cupcakes, such desserts are surely a favorite, especially on Instagram.

Image Source: @katiedavie85


Despite all the love and popularity enjoyed by such desserts sprinkled with edible luster dust, there have been quite some concerns regarding the consumable quotient of the edible luster dust used on cakes, cookies, and cupcakes.Several individuals, as well as groups, have questioned the safety of such edible luster dust and whether it should be consumed or not, especially when it comes to children. It is actually quite simple to determine how edible the edible luster dust is and to what extent it should be used on different kinds of desserts without causing any health problem.

Source @glitter_y_cupcakes

Is non-toxic luster dust safe to consume? 

Just because a product is non-toxic, it doesn’t mean it can be eaten. Take for example the colorful clays. Most of the brands of these clays are non-toxic, but they are obviously not for consumption. ‘Edible’ is the term that means eatable. Hence, a product that is marked edible by a respective organization that overlooks the quality of such products, such as the Food and Drug Administration (FDA) in the US, is safe to consume.When it comes to the edible luster dust, the same rule applies. If it is approved by the FDA or any such regulatory body for consumption, you can totally go for it. At Iciniginks, we offer some of the most vivid and vibrant colored edible luster dust for decorating your cakes, cookies, donuts, and cupcakes. All Icinginks luster dust products are 100% edible and are FDA approved. Hence you can use them without having to worry at all.

What edible luster dust is made of? 

The edible luster dust products available at Icinginks are made of sugar, acacia, maltodextrin, cornstarch, and color additives that are approved for consumption. They include food-grade colors that don’t give any kind of food allergies. You can sprinkle it on your cakes or cookies to enhance any pre-made visuals. You can also use this dust as paint or spray by mixing the dust with water, alcohol, or lemon extract.How much consumption of edible luster dust is safe?
Since the luster dust offered by Icinginks is absolutely edible and have passed rigorous procedures to ensure their quality, you can use them to any extent. However, it is recommended to use it moderately as the excess of anything is bad, edible or not. 

For more high-quality edible luster colors by Icinginks that are completely consumable, CLICK HERE.

Original Source: Icinginks

How to Decorate Cookies using Edible Sheets

Creativity has no limit and with the high-quality FDA-complaint edible sheets from Icinginks, it comes true. Whether it’s a birthday, anniversary, Thanksgiving, Christmas, New Year Eve celebration, or any other occasion, edible sheets help you making awe-inspiring designs on cookies.

1.   Shape your raw ideas with blank frosting sheets

You came across some cookie decoration videos on YouTube, culinary blogging site, or at your nearby confectionary store. or got a brand-new idea that originated in your mind from nowhere. Now you want to make it yours. Blank frosting sheets can make it happen. A frosting sheet is a very thin piece of flavorless icing, very white. Print it with your image or pattern ideas and place it on your cookies while they are setting. The image or pattern gets transferred to the cookies.

2.   Use pre-cut edible sheet designs to decorate your cookies 

Decorating cookies with butterflies, corporate logos, typo arts, miniature signs, etc., could be a nice cookie decoration idea. Sounds a bit crafty! You can apply in no time by using pre-cut frosting or wafer sheet (rice paper) designs. Icinginks offer custom pre-cut designs – means you can customize your order by telling us what design you want to be die-cut on the sheet. Unlike our frosting and icing sheets, wafer papers do not have any plastic peel-off backing. Read the difference between frosting sheets and wafer sheets for a better understanding.

3.   Use colored icing sheets to decorate your cookies

The sight of sparkling metallic textured cookies might have caught your attention. The secret behind them is the use of colored icing sheets, which are pre-printed. While purchasing make sure that the edible food color ink used in printing is FDA-compliant. The print retains high resolution and solid texture which a regular printer cannot produce. Cut any design or pattern out of the sheet using any electronic cutting machines, hand-cut paper cutting machines such as Brother and Crafter’s Companion.

4.   Take food art to a new level with foldable edible sheets

If your cookie decoration needs bending or folding the edible sheet, go with foldable or flexible edible sheets. Icingink’s product line of flexible edible sheet is called as Flexfrost sheet. Print the flexible edible sheet with the image or pattern idea matching the celebration-theme, and stand out. Easily cut the printed sheet with scissors, blade or knife or give it a desired shape or pattern to make your yummy cookies look vibrant.

5.   Custom cookie decoration using blank sugar sheets

If you are left with little time but you can’t reign your creativity, use blank sugar sheets. They are perfect for printing any kind of image, cartoon, or design as they absorb the color quickly and displays vibrant colors of the image you selected. Once the frosting sheets are placed over the cookies, the moisture from the icing dissolves the paper, causing the image to sink into the frosting.The aesthetics of cookie decoration is important but health is even more important. So, always make sure that edible supplies you use are duly approved by FDA or equivalent regulators. Hope you loved the cookie decoration ideas using edible sheets. Leave your suggestions and experience.

Design a site like this with WordPress.com
Get started